Wednesday 28 November 2012

Watering Watermelon!


So today's mani is actually one I was going to post last week, but didn't get a chance. In keeping with the 'holy crap it's hot' theme, I thought I'd do some watermelon nails!


I painted the base Australis Sweet Pea, then sponged on an Urban Colours dark pink and The Face Shop GR502. I finished with Revlon Black Lingerie for the spots.


These turned out far messier than I hoped, and I wasn't even going to post them - but I did quite like them and I got a lot of compliments, which helped me change my mind.


I do love sponging but clean-up takes forever!

On an slightly-related note, I finally got myself some pure acetone! I bought a litre of it from Bunnings Warehouse, a big hardware store. I only wish I'd had into help clean up after the watermelon-sponging fiasco!


It only cost me $10 so I'm pretty pleased with that! I can finally clean up my nail brushes properly (nail polish remover was leaving them all icky and not cleaning them properly at all), and it's perfect timing to help me clean up while stamping.

I love this stuff so much! Never buying nail polish remover again.

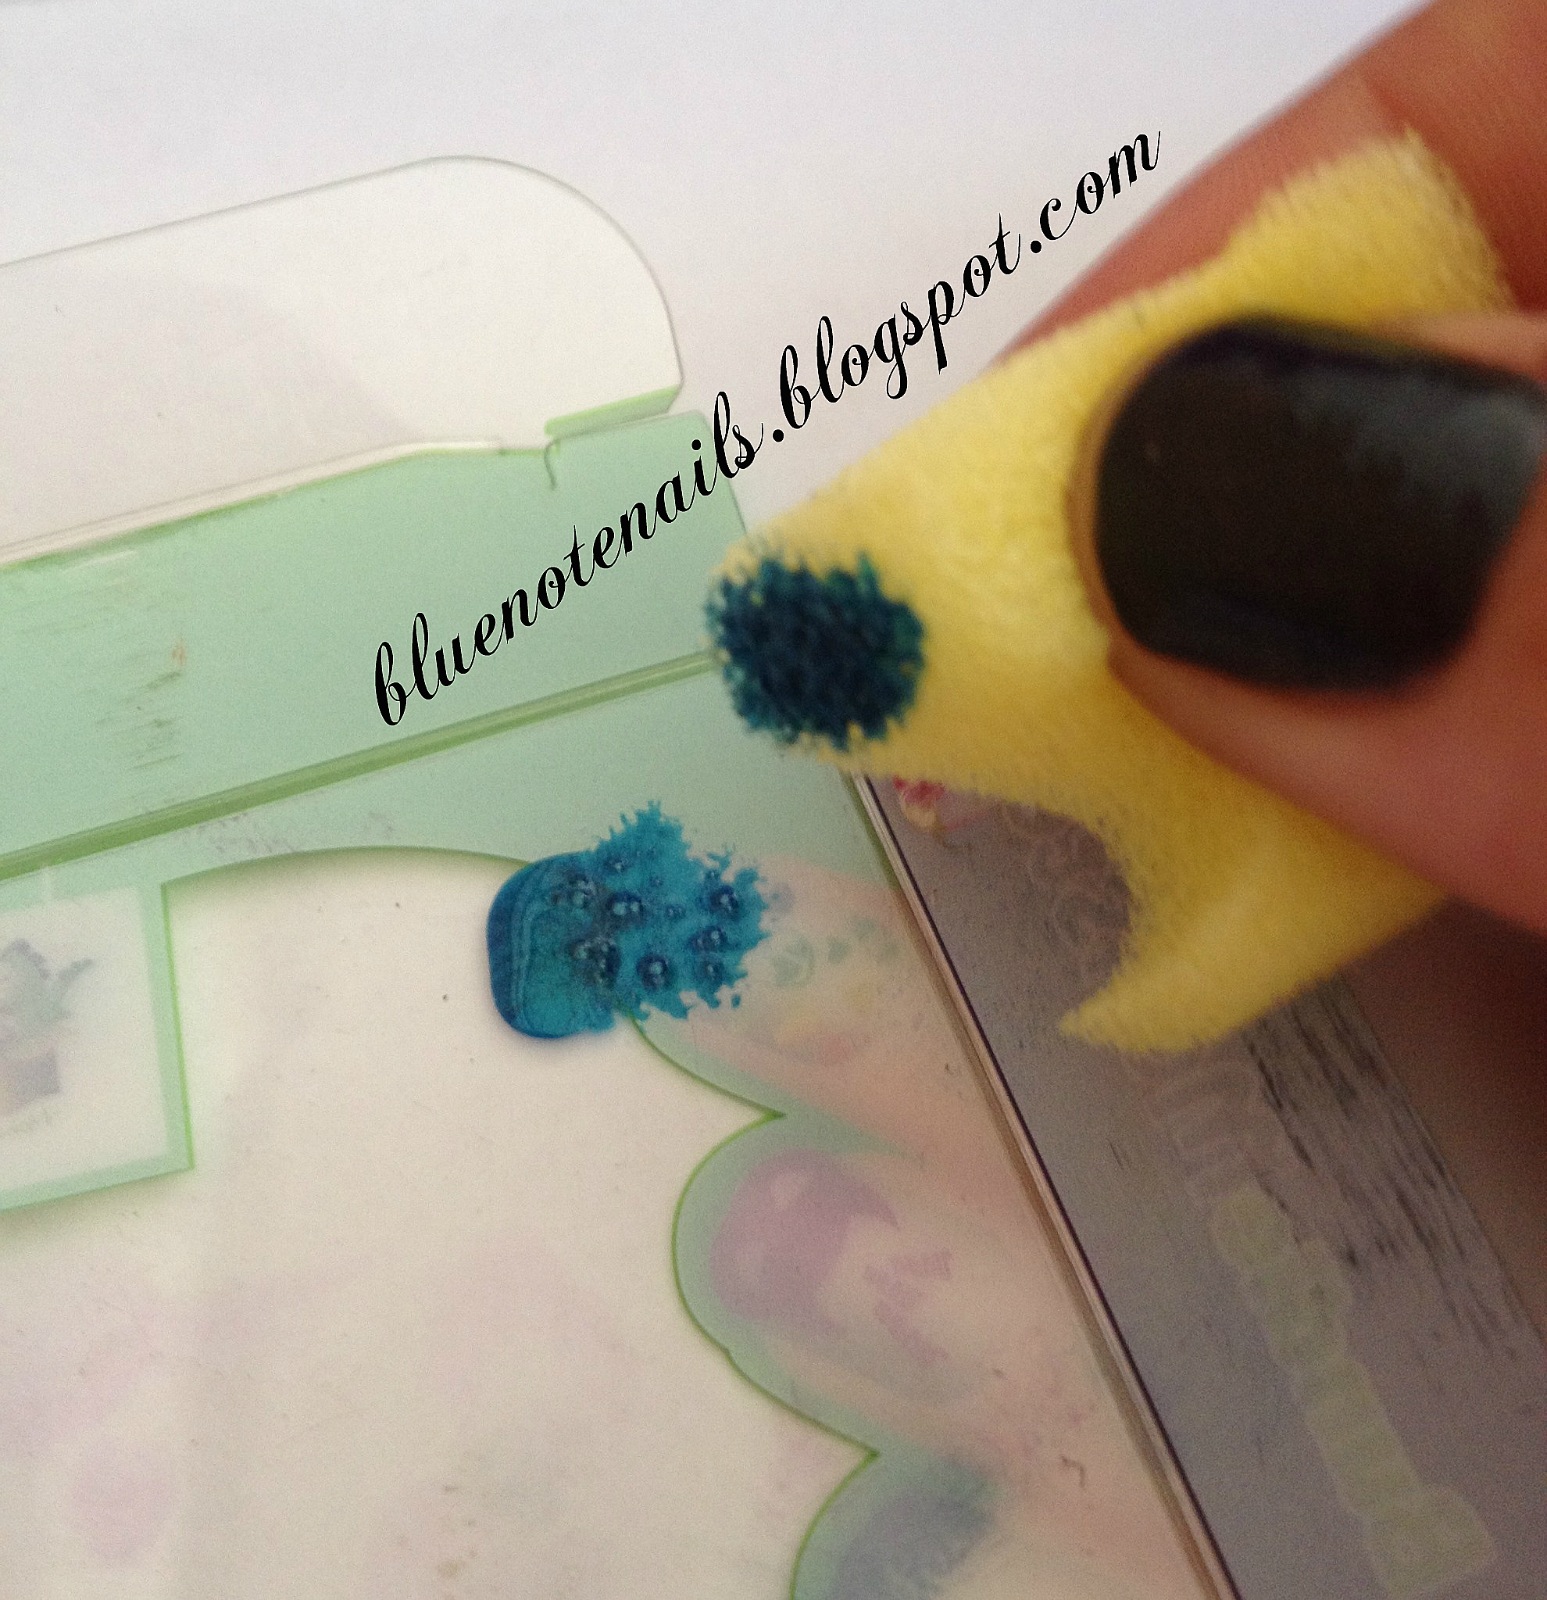
Speaking of stamping...  It turns out nail stamping is really quite frustrating! I can't seem to get the hang of it at the moment, and my main problem seems to be that the polish dries before I can get it onto my nail. Thankfully I've got the acetone for clean-up and I'm having fun practicing, but I hope I can get a decent image happening soon!

Monday 26 November 2012

Neon Nails!

The weather is heating up down in Aus and its starting to feel a lot like Christmas! Some days I love the heat; others, not so much. But today I thought I'd celebrate the warmth by doing some super hot nails!


I used Australis Bombshell (a pop pink favorite of mine!), and a neon green by Miki. I used painters tape to get the edges. It turned out a little messy, but I'm still quite pleased with the result! As usual, I used Australis top&base for the topcoat. This may not be the case for long though! I just ordered the much covered seche vite fast drying topcoat (along with a bunch of gorgeous china glaze and colour club polishes) over at Head2toe beauty. Seriously such a great bargain - their prices are insanely good.


The best way to describe today's manicure is garish! It's full on, almost an assault on the eyes. I liked it but only wore it for one day - it doesn't really go with anything I own! Unfortunately my camera really struggled picking up the colour correctly. The first photo (above) is the most colour correct.


A very fun and crazy mani. I was inspired to use these polishes because they are both the brightest colours I currently own.

And an update on the nail stamping business: my stamper FINALLY came!!! I'm playing around with stamping now, and about to do my first ever stamped manicure. Wish me luck - I have a feeling I'll need it!

Saturday 17 November 2012

Galaxy Nail Turorial

It's tutorial Tuesday! Well, minus the Tuesday part. Tutorial Saturday doesn't quite have the same ring to it.

Today I will show you how to recreate the galaxy nails that I posted yesterday!


I'm not exactly rich, far from it actually, so until I win the lottery all of my tutorials will be using inexpensive items, most of which you will probably already have.


You Will Need:


  • A sponge (I use a kitchen sponge)
  • Toothpicks - for cleanup
  • Makeup remover pads or cotton balls - for cleanup
  • A piece of plastic (I use some plastic packaging, but it could be anything - a plastic sleeve, a glad bag (aka ziploc bag), or the lid of an old take away container)
  • Glitter - I used larger blue glitter (abt 2 mm across), and tiny holographic glitter.
  • And of course - nail polish!
    - 1 dark polish
    for the background (I used Revlon Top Speed: Black Star)
    - 3 or 4 lighter colours for the galaxy.
    - 1 clear top coat (I use Australis top & base coat)

I used:
Blue - Missha Lucid Blue

Mint Green - Australis in Sweetpea

Pastel Purple -The Face Shop in PP401

Very light blue/purple - Revlon in Clou


Step 1


Paint your nails with your base colour. My previous attempt I used a glitter black with small silver  particles, I would recommend not overdoing it with glitter in this step - it really takes away from the galaxy look. A nice black or even dark purple would look good.

I used Revlon Black Star:


 It just looks like a light, shiny black in the shade, but in the sun it subtly sparkles.


Step 2 

Ensure your nails are completely dry before beginning this step. I painted the base in the morning, and then did a few things throughout the day before I sat down to start the galaxy in the afternoon. You don't have to wait quite that long, but they should definitely be nice and dry - and not dentable.

Take your sponge:
I use a regular kitchen sponge, the no-name kind you buy in a pack of 6 at Woolworths (supermarket). 


I've tried using a makeup sponge before, and found that it really didn't apply enough polish at all and just soaked most of it up.

I simply tear off the scourer pad, and then cut a few pieces off: 


Now take your piece of plastic (mine is a bit I saved from my bundle monster stamp package), and drip some nail polish onto it. Start with your darkest colour.


I only drip out a little because I've noticed some polishes dry up very quickly, and its easier just to add more as you go than trying to work with gluggy half-dry polish.

Take a piece of sponge, and using a corner, dab it into the nail polish. Dab off any excess on the plastic.


I work the sponge across each nail as a line, just gently dabbing the polish on. I would recomend doing the lines is different directions on different nails - my first attempt all nails were very similar, and it took away from the galaxy effect.


I reload the sponge before starting on each nail:


 You can see where I've dabbed off my excess around where the polish was.
 
 Step 3

Wait for your sponging to dry before starting on the next colour. This doesnt take very long at all - a couple of minutes dry time should suffice.

Now take each colour and sponge on, from darkest to lightest. For each colour I use, I use a smaller area of the sponge so that the new colour doesn't completely cover the previous colour.


Follow the sponged line you already created, trying not to stray outside that line too much - a little bit outside looks good, a lot looks messy.


You can see in this photo how much smaller area of sponge I use as I move onto the lighter colours.


The final colour is sponged on very lightly, just highlighting the middle areas of the galaxy - where there would be the highest concentration of stars.


Step 4

And now for the glitter!
Wait until your lovely galaxies are dry before starting this step!

I started with larger pieces of light blue glitter. I only wanted 2 - 3 pieces on each nail, so I used a toothpick to apply them.

As you will need a wet top coat, I recommend doing this step one nail at a time - that is how I work. Pour a little glitter onto a work area, a piece of paper or anywhere is fine. I just used the top of a notebook that was close by.


Paint your finished design with top coat. Dip the end of a toothpick ever-so-lightly in the nail polish, you don't want a blob on the end. Wipe off any excess.

Using your toothpick, gently touch a piece of glitter - it will stick to the end. Place the glitter into the wet top coat gently - you don't want to ruin your nails. You just need to lightly touch your nail with the glitter, it should stick.

I applied 2 - 3 of these larger pieces in the brightest areas of the design, focusing on the inner part of the galaxy.


Who knew taking pictures of glitter was so difficult?


Then, on the same nail, I took my white holographic glitter and gently shook a very small amount into the center of the lines. Last time I tried galaxy nails I killed them with glitter and it just ruined the look.


That's how I gently shook some onto my nails. I couldn't get a good shot
 because I don't have three hands.


 Now follow this step for each of your nails individually, applying both glitters as quick as you can while still being gentle - otherwise your top coat will dry before you can get your glitter on! That said, don't rush - I found I had ample time to apply both.

Once you are finished, let it dry. This will depend on the kind of top coat you used. Once dry, apply another top coat or 2, depending on how much the surface needs smoothing out.


Step 5

Lastly, it's time for cleanup. By this point, you are probably covered in glitter and nail polish. I can't help with the glitter, it sticks to me like crazy too. But I can help with the polish.


Gather your toothpicks and makeup pads (or cotton balls). I'm going to try to explain how I do this, forgive me if it's a little confusing. My auntie taught me this trick when I was about 14, because I used to get polish everywhere. I'd probably have had better luck dipping my whole hand into polish. (Thanks Auntie Lisa!)

 She taught me with cotton balls, but because I cannot STAND to touch them, I do not buy them. Even thinking about them now is making me feel all squicky. (If you are using cotton balls, you can skip the first part)

Take your makeup pad and pull out the soft cottony stuff in the middle:


Take your toothpick and dip it into the cottony stuff, gently pulling away a small amount:


Roll the cotton around the toothpick between your thumb and forefinger:


Now you should have something which looks like this:


Now you're all ready to start cleanup! Dip into nail polish remover and be careful near your nails. I use more cotton on the toothpick for clean up of skin around the nails, then less as I get closer to the nail and around the cuticle.

Each time I need a new piece I simply slide off the used cotton and roll on some fresh cotton.

Heres the result after cleaning:


So there you have it! Galaxy Nails!


Wow, that took way longer than I thought it would. Now I need to figure out how to put all the pictures together into one informative step-by-step pic..! Maybe another time. Goodnight!

Friday 16 November 2012

Galaxy Nails!

Oh galaxy nails - so beautiful, and yet so simple to achieve. This is only my second attempt at galaxy nails, but I'm very pleased with the result.


I've been wearing them all day and I just love them. You can do these in so many different colours, the possibilities really are endless. One could even say... expanding. Sorry, it had to be done.

On an unrelated note, I received my Bundle Monster stamping plates today (woohoo!) but I am still waiting for my stamper to arrive. Usually stuff from Hong Kong gets to me far faster than stuff from America... Something I was sort of counting on when I ordered them. Unfortunately for me, USPS was mysteriously on the ball this time. Now to play the waiting game...  

One last pic:


Stay tuned, because I will be putting a tutorial up for these tonight or tomorrow. I know galaxy nails are super simple, but since it will be my first ever tutorial I thought it might be best to start on something a little easier. All the photos are done, I just now need to organise them into something vaguely informative. Wish me luck!

Thursday 15 November 2012

Explosion Tape Mani

As soon as I saw this fantastic tutorial for an explosion designed nail over at nailside, I knew I had to give it a try! It reminds me of a cartoon style 'kaboom!' - and that appeals to my nerd side more than I can adequately express.

I love how this turned out!

I used one of my all time favourite nail colours, Bombshell by Australis - the brightest, funkiest pink I've seen so far.

For the taped explosion, I used painters tape - which I prefer over regular stationary tape, I find that my polish is far less likely to stick to it.

The black is Revlon's Black Lingerie (#919), and the silver is another one of my favourite colours, which is Revlon Top Speed in Metallic (#860).

All in all one of my most favourite manis, and a really simple and easy-to-recreate design. Will definitely be doing this one again - I received so many compliments!

Tuesday 13 November 2012

Rockin' the rainbow

I got my new nail brush set from eBay today and I really wanted to play around with them, so I spent about an hour just playing with each brush and essentially doodling on my nails. I wanted to do something spunky for my spunky new blog, and at the same time play with my new toys. So I decided on spots and stripes!


I chose a rainbow over grey nails. I LOVE rainbows (who doesn't?!) and I thought it was perfect for the current spring weather - sunny and hot, rainy and steamy.


Is it just me, or does my middle finger nail 
look oddly shaped in this photograph?


I attempted a messy look, but I'm not positive I pulled it off. My thumb is probably closest to what I was going for. Kind of a random, striped-but-almost-filled effect.


My feature nail was rainbow dots, and I loved how it turned out despite its slight messiness (forgive me, it's my first dotting attempt!) I found my dotting tool to be too small and delicate, so I used a toothpick instead.


This look would be so great for going to Sydney Mardi Gras! I think it's a great idea for a gay pride mani, or it can just be a regular rainbow - whatever floats your boat! (Or.. your float! Teehee) :)


Polishes I used:
Base: OPI Skull & Glossbones
Rainbow: Red: The Face Shop RD302
Yellow: The Face Shop YL702
Green: The Face Shop GR502
Blue: The Face Shop BL602
Orange and Purple both came from a 12 colour "Urban Colours" set I got from an Aussie supermarket for $10. (I know, bargain, right?!) None of the colours have names on them.

Speaking of The Face Shop, I'm planning on adding a review very soon. Stay tuned :)


Sunday 11 November 2012

Smurfin' Sparkles!

Hello all!
(Crickets chirping...)

Since no one is reading this, should this be considered a diary? I hope not. I always forget to write in them. 

Well, hm, lets see now. I finally decided to start a blog about nail art. I am by no means perfect, but I do enjoy doing my nails (maybe a little too much), and so I thought I might start this to keep track of my various attempts at nail polish and nail art. Who knows, maybe I'll even get a little better - and with so much room for improvement, its only up from here!  

Since I am Skye Blue (hi!), and this blog is named Blue Note Nails, I thought what better way to start then with a blue mani!


Isn't it such a fantastic colour? It kinda reminds me of smurf blue. It's so bright, I always get comments on my nails when I wear it. 


I love this blue! I ordered it on Ebay from The Face Shop, their colours are so vibrant and I love the formula (well, for the most part. More on that later). 


Sorry, photo is a little blurry :/ 

I used BL602 by The Face Shop, blue cosmetic glitter that I picked up from a dollar store (I have a bunch for my nails and its great stuff), and an Australis top coat.

And woohoo! Inaugural post!